HOW TO MAKE GRAVLAX / GRAVARDLAX RECIPE
|
Gravlax / Gravardlax has its roots going back to the middle ages when fishermen would bury lightly salted fish in the sand above the high tide line to ferment. The word gravlax comes from the Northern Germanic word 'gräva/grave' ("to dig") which goes back to the Proto-Germanic ‘grabą / grabō’ ("hole in the ground ; grave") and the Indo-European root ‘ghrebh’- "to dig, to scratch, to scrape", and 'lax/laks' - "salmon". The word literally means ‘dig a grave for a salmon’.
These days there is no fermentation; and no need to bury your fish at the beach. Instead, a dry cure of salt is used to extract water from the fish, which combines with the sugar to make a brine around the fish. Other flavourings like sugar, dill, juniper, and even alcohol can be added to impart some other complementary flavours. My mother first taught me how to make gravlax in my teen years. I found it sublime eating with a traditional dill mustard sauce (hovmästarsås, also known in Sweden as gravlaxsås, in Norway as sennepssaus, in Denmark as rævesovs, and in Iceland as graflaxsósa) on some brown bread. We’d often have as part of a light lunch or as an appetiser. It was a cheaper than smoked salmon and could be made over night. This simplicity means it can be made almost on demand, requiring to leave it for anywhere from 6-8 hours to overnight, all in the fridge. (I now even use it for the kids school lunches with some cream cheese, cucumber, and cracked black pepper). This recipe is so simple and it doesn’t matter if you forget about in the fridge for a day (or even two). Yes I’ve been guilty to that ; it just gets firmer and the flavours are stronger. This comes down to personal preference. Once made, it lasts a good week in the fridge. Like all curing , the fresher the produce the better the final product. |
|
There is no set rule amount the amount of dry cure to use as a lot comes down to personal preference on the firmness you like and the size of the salmon.
INGREDIENTS
|
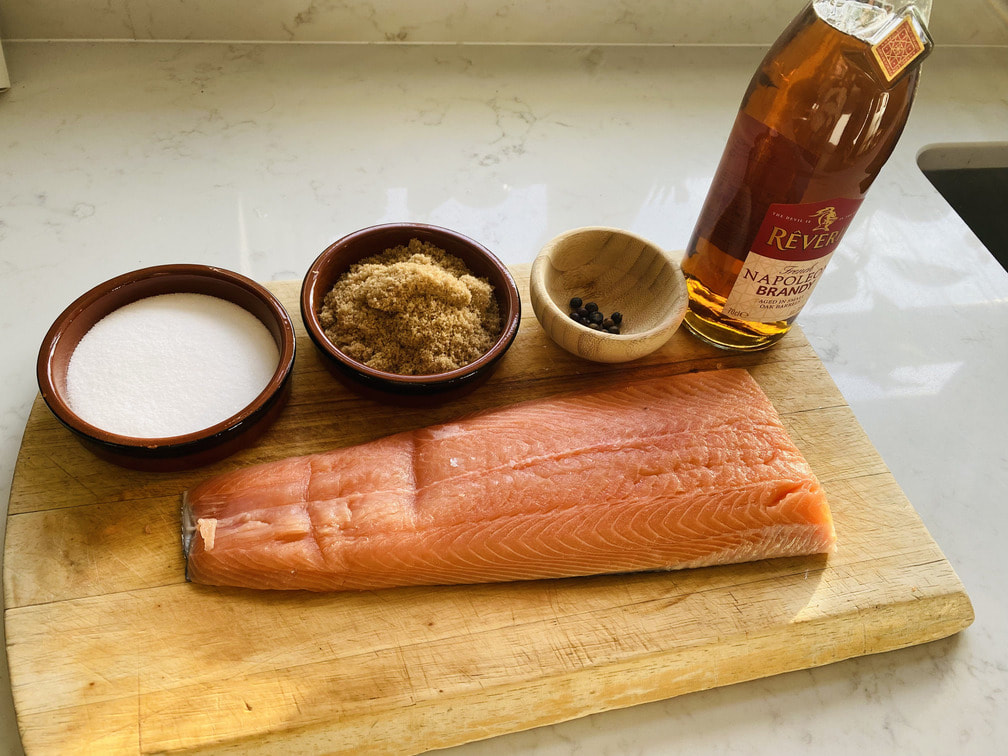
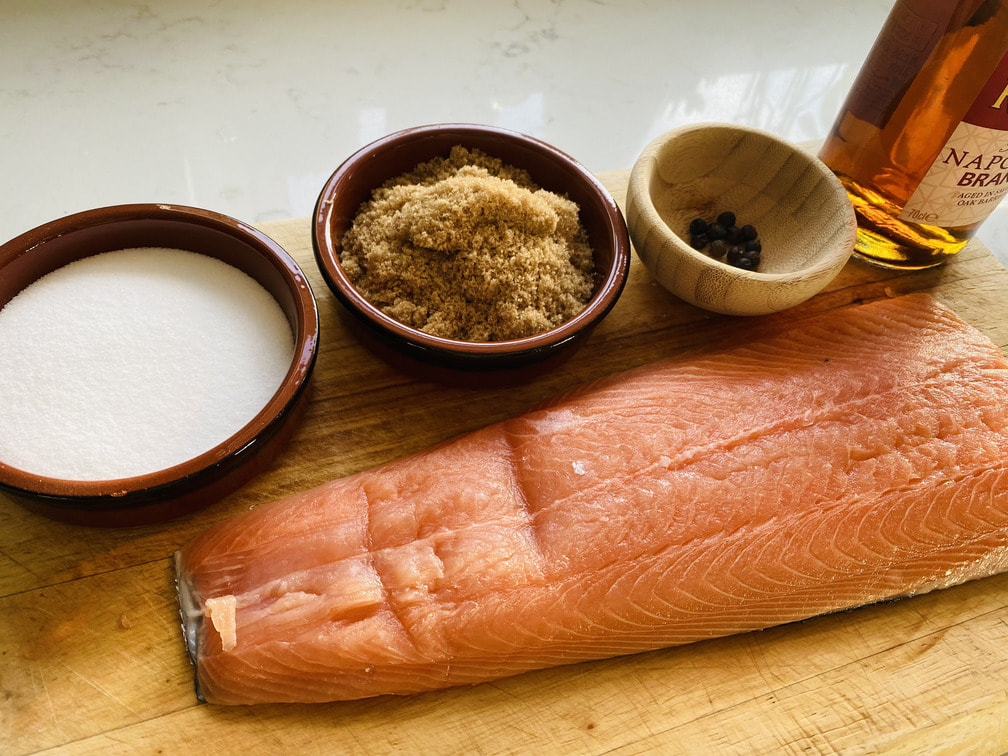
½ or ¼ side of Salmon
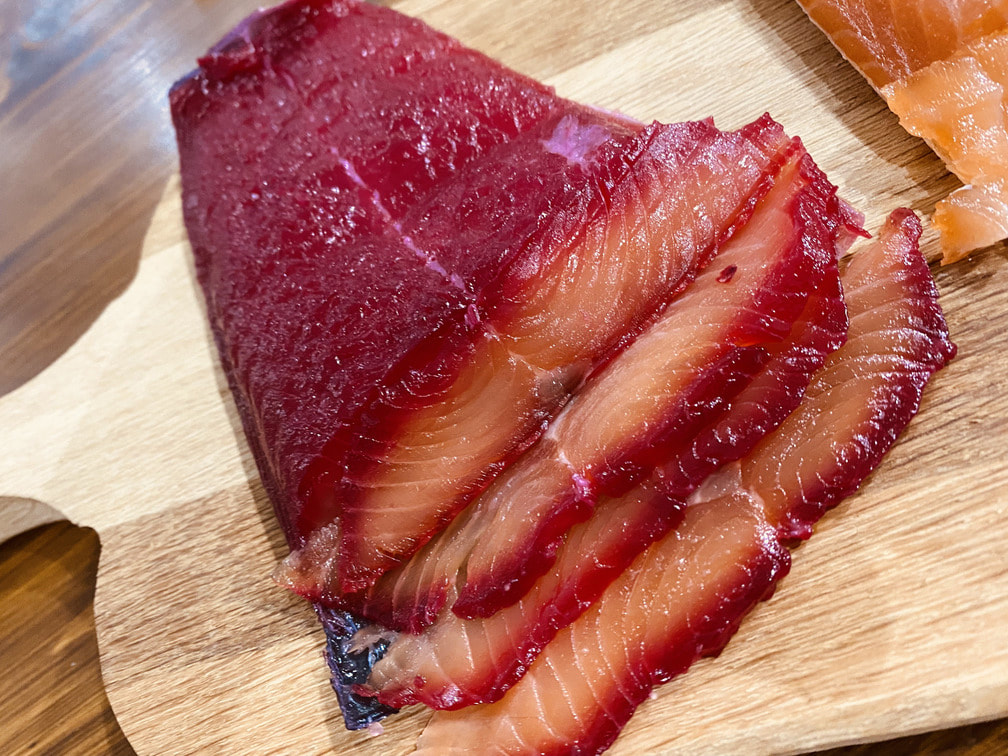
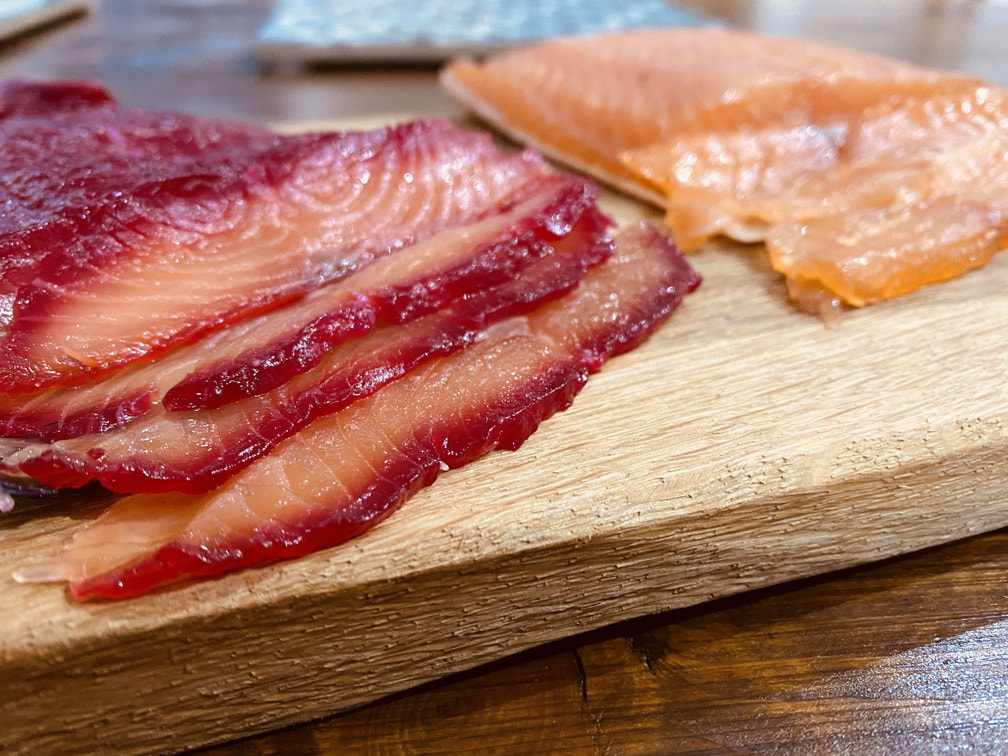
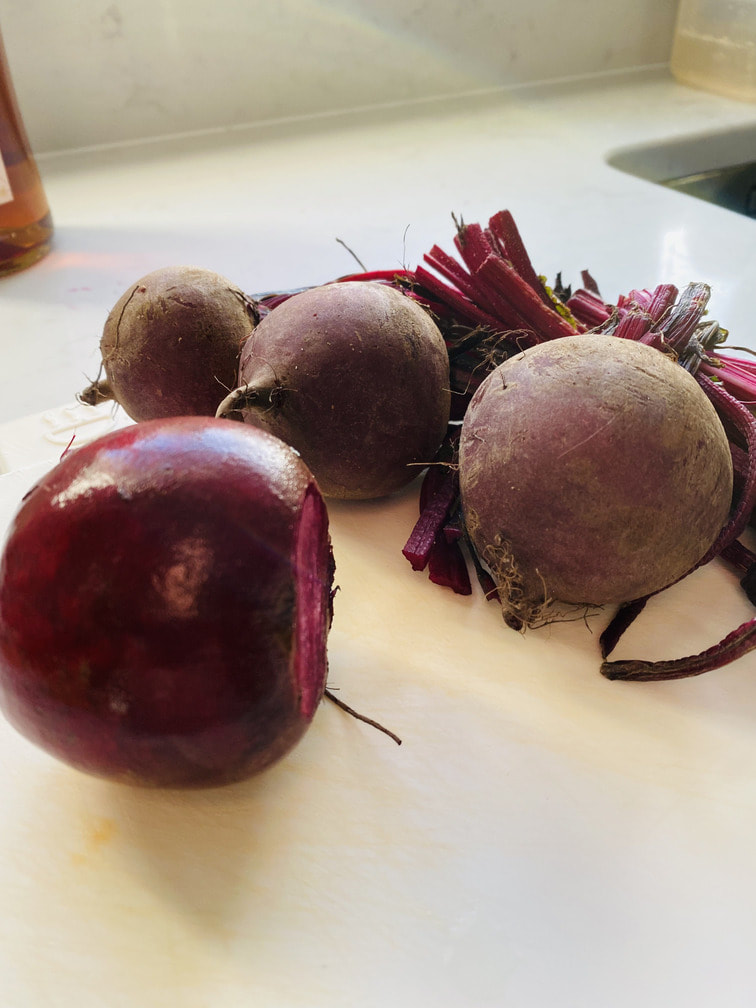
Dry cure (50/50 salt and sugar mix) – 1 cup of table or cooking salt to 1 cup of sugar to 1 cup of white or light brown sugar (best). You won’t necessarily need all this Optional aromatics – choose 1 from: -crushed juniper berries - finely chopped fresh bay leaf - fresh dill - fresh crushed blueberries (turns the outsde purple!) - fresh grated beetroot (turns the outside red!) - lemon zest or peel (no pith) - orange zest or peel (no pith) Optional alcohol -dessert spoon of brandy or a smoky whiskey, or gin or vodka |
METHOD
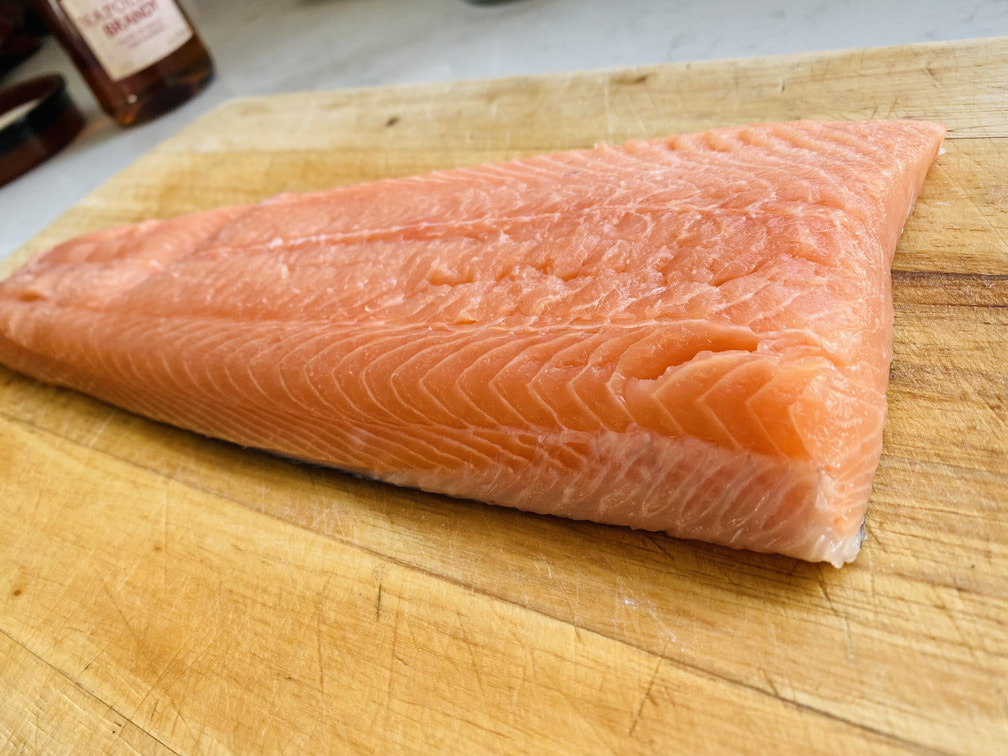
1.Clean and trim your salmon and pat it dry with kitchen roll or a clean tea towel.
2.Place a length of clingfilm down at least twice the length of the salmon and sprinkle around a level tablespoon of the dry cure on an area the size of the salmon. You will be pulling the clingfilm back over in a minute.
3.Place the salmon down on the cure, skin side down.
4.Sprinkle dry cure across the top of the fish (around 2 tablespoons), You are looking to give it a light layer, and make sure you put some beside the fatter cut end of the fish so when you close the clingfilm it brings the cure up into in contact with the cut side of the salmon.
5.Now add any additional aromatics over the top (see above), this is entirely optional.
6.Pull the clingfilm over and wrap up the sides.
7.Now grab another length of clingfilm and wrap the package again making sure the edges of the first piece are covered by the new piece. This is important if you don’t want the brine that will be created to seep out everywhere.
8.Pop into a dish or put on a plate and put it in the fridge for a minimum of 6 hours. Overnight is best. The firmness and strength of flavour is down to personal preference. Once you have made once or twice, you’ll work out your favoured time to leave this in its natural brine.
9.Once the curing time is up, remove from fridge, unwrap the piece of fish and run it under the tap lightly to wash any salt and sugar granules off.
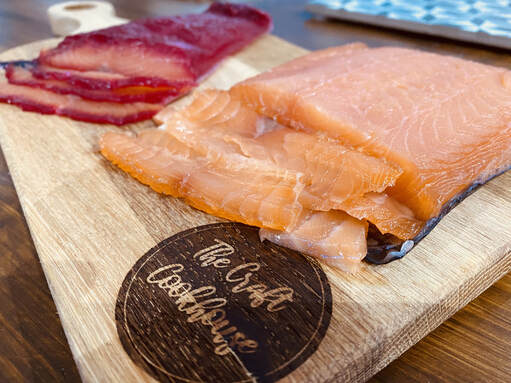
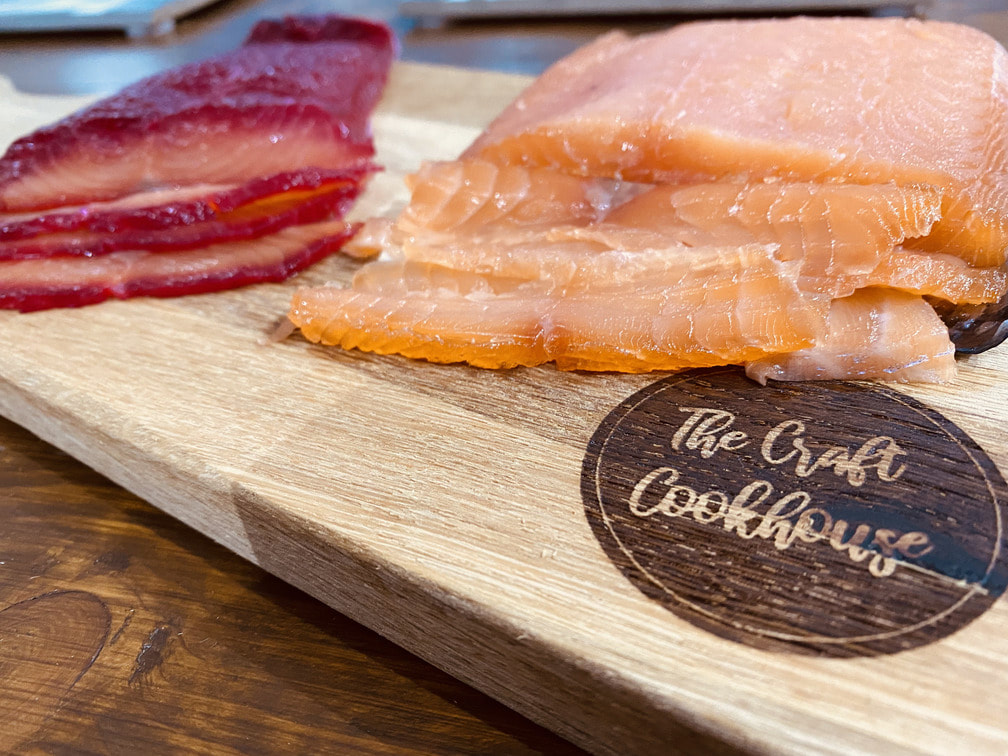
10.Pat dry and it’s ready to slice up. You’ll notice how much firmer it is and with your knife ( a flexible knife works best) slice thinly.
11.This stores well in the fridge in an airtight container or dish covered with clingfilm for a week – if it lasts that long.
