|
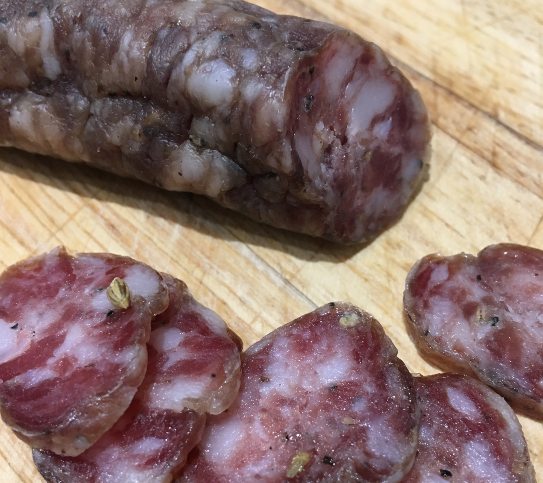
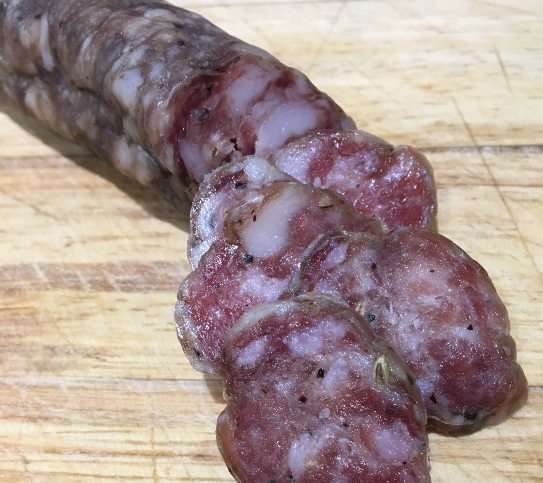
Tackling your first salume isn't really as difficult as you may think. Most salamis are a handful of ingredients, the correct about of salt, and some patience. This recipe will present you with a number of basic salami in 3-4 weeks, which can then be left to cure longer and improve their flavour and texture further.
As long as you prepare properly, use clean equipment, and check where you are going to hang your salamis this really is very simple. You may feel you need to have some specialist equipment like a meat mincer/meat grinder and a sausage stuffer but this can also be made with some simple knife cutting skills and the top part of a clean plastic bottle (see TIPS) for more information. The only essential extra you ma not have in the kitchen are the casings - these can be either hog or artificial casings. Since we are all about traditional cooking, and no chemical additives, I like to use hog casings. You can get these from the butcher, or relatively easy to get online, I use these in 24m length which I also use for general sausage making more than enough for home use in small batches. Casings come in various lengths and can be stored for a long time if unused. See our TIPS for more info on casings.
|
The below will yield nearly 3m of salami. You can scale down the ingredients accordingly, I've added the % to help.
I recommend you DON'T use pre minced pork for this as explained in the video.
I recommend you DON'T use pre minced pork for this as explained in the video.
|
INGREDIENTS
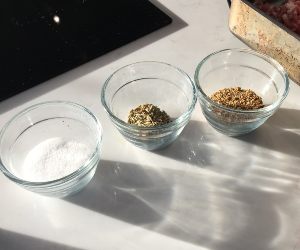
1.9kg mix of pork shoulder and pork belly, looking for 20% fat 3% of the weight of pork in Salt (57g) (Use cooking salt or kosher salt) 3 IS THE MAGIC NUMBER! 3% weight of the meat in Salt.* 1.5% of the pork weight in whole peppercorns and cracked pepper (28.5g) 0.5% of the pork weight in Fennel seeds (9.5g) Large glass of red wine You can add optional aromatics like the zest of an orange or a teaspoon of dried chilli flakes if you fancy a fiery kick. *We make our own informed choice on the use of additional nitrates and curing salts. If you choose to use these - swap the 3% in salt to 2.5% salt and 0.25% Instacure #2 / Prague Powder #2. You can read more in our article here : To use or not to use Nitrates (Pink Salts, Instacures)? |
|
PROCESS
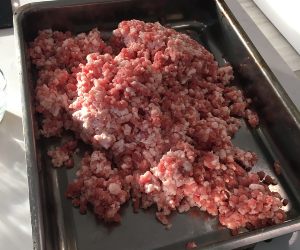
1. Coarsely grind the pork using a 6mm or 8mm plate. If using a grinder it is worth putting your equipment and pork in the freezer for 20-30mins so it stays firm through the process, or else the grinder action can warm the meat and turn it sludgy.
Or use your knife skills to chop - Start by cutting the meat into smaller manageable chunks and then grab a second sharp knife so you have one in each hand. Now with your left hand draw the knife from right to left, and with the knife in the right hand draw the knife from left to right. Then repeat and keep cutting like this until desired coarseness is achieved. This scissor motion can make quick work of the pork if the main part of the blade is kept perpendicular to the chopping board. and with a small pile of the pork place the blades
Or use your knife skills to chop - Start by cutting the meat into smaller manageable chunks and then grab a second sharp knife so you have one in each hand. Now with your left hand draw the knife from right to left, and with the knife in the right hand draw the knife from left to right. Then repeat and keep cutting like this until desired coarseness is achieved. This scissor motion can make quick work of the pork if the main part of the blade is kept perpendicular to the chopping board. and with a small pile of the pork place the blades
2. Place the now minced pork in a bowl and sprinkle over all the salt, peppercorns, fennel seeds, and mix through thoroughly with your hands.
3. Pour over the wine and mix through. The salt and the acidity and the wine make the meat inhospitable for bad bacteria to grow.
4. Put into your hog casings with either a sausage stuffer or our plastic bottle funnel method (see TIPS). Make sure the skins are packed tight with as few air pockets as possible. Tie into manageable lengths as you go ensuring you have good tie at both ends.
TYING TIP - tie one granny knot around the casing skin to close it, then loop the flap of casing over the knot, and tie another knot, then with the two ends tie into a loop for hanging.
TYING TIP - tie one granny knot around the casing skin to close it, then loop the flap of casing over the knot, and tie another knot, then with the two ends tie into a loop for hanging.
5. Prick the salamis all over with a sterilised pin or needle to remove any possible air pockets
7. Now hang in a warm area 20-24C ideally for 24 hours to start the curing process. You may get some liquid seepage so pop a plate underneath if hanging over carpet.
8. Now move to a cool area to hang for 2-3 weeks. Ideally you looking for a constant temperature of 12-14C, out of sunlight, with some passing airflow - (so don't put it in a cellar with stagnant air) I hang mine near the back door.
Now it just a case of waiting. Inspect everyday. If you see any bad mould (green) then you will have caught it early and can wash off with some wine vinegar. White mould is good, but not essential for this basic salami. White mould will improve the flavour further and also inhibit the growth of bad bacteria on the surface. If you see any black mould then you likely have something nearby causing it and I would bin the salami (though can try washing it off with wine vinegar, then painting wine vinegar over the salami and see if it reappears.
Your salamis will lose weight over time and start to have sweet pleasant salami smell. If at any point your salami smells rancid or deeply acidic or is slimy then you should bin that salami as it means the mad bacteria has grown inside, probably within an air pocket. This is why you should pack your salami tight.
As your salami harden and get past the 3 week marker you can relax a bit, and once they hit the target weight you can continue to hang and cure them or move them to the fridge or pack them.
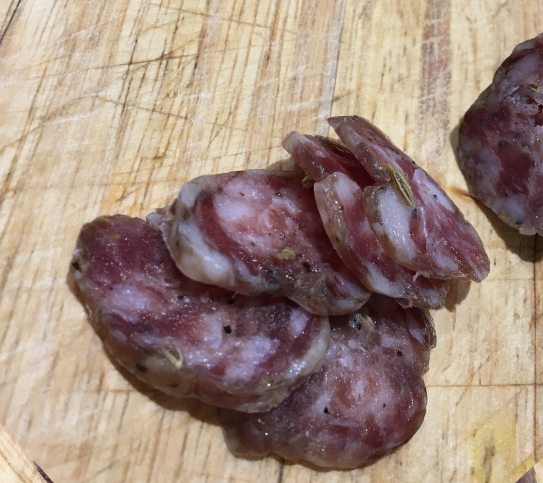
You will be amazed how the flavour profile develops if you tase the 3-4 week old with the 2-3 month old.
Now you have learnt the basics of salami making. Just remember 3 IS THE MAGIC NUMBER! (3% of weight of meat in salt)

